

Key Takeaways
| Question | Answer |
|---|---|
| Remodel or upgrade? | Remodel when walls or ceilings are open and you add boxes, circuits, or recessed lights; upgrade when you only swap fixtures, bulbs, and switches. |
| Where to start? | How each room is used, then a layered plan (ambient, task, accent) drawn to scale. |
| Box placement rules? | Center on tables and seating, not rooms; recessed ≈ ceiling height ÷ 2 apart, 2–3 ft from walls; sconces ~60–66 in up. |
| Switching? | Three-way at each room or stair end, dimmers on main fixtures, scenes or smart controls where useful. |
| Permits? | New circuits and boxes usually need a permit and a rough-in inspection before drywall — check with the local building department. |
| What drives cost? | Number of new boxes and circuits, ceiling access, recessed count, heavy-fixture blocking, high ceilings, smart controls, drywall repair, and the fixtures. |
Quick Facts
- Recessed spacing rule of thumb: ceiling height ÷ 2 between lights (8 ft → ~4 ft apart).
- Keep recessed lights about 2–3 ft from walls; closer for wall-washing, farther for general light.
- Chandeliers over 50 lb need a box rated for the load fastened to a joist, blocking, or a brace bar — plan it while the ceiling is open.
- Sconces: center about 60–66 in above the floor in most rooms.
- Lumens targets: 10–20 lm/sq ft living and bedrooms; 20–30 dining; 30–40 kitchens.
- One color temperature through living spaces (2700K or 3000K); 3000–3500K in kitchens.
Remodel or Upgrade?
| Lighting upgrade | Lighting remodel | |
|---|---|---|
| Walls and ceilings | Closed | Open, or opened for the work |
| Boxes | Existing locations | New and moved boxes |
| Circuits and switches | Swap switches, add dimmers | New circuits, three-way runs, new switch locations |
| Recessed lights | Rarely | Common |
| Permit | Usually not | Usually yes |
| Best time | Any time | During a kitchen, addition, or whole-house renovation |
If the ceilings will stay closed, the no-construction route is in home lighting upgrades and upgrading lighting without rewiring. Everything below assumes the walls or ceilings are open.
The Nine-Step Lighting Remodel
1. Set goals for each room
List what happens in each room and when: cooking and homework at the island, dinner at the table, reading in one chair, art on one wall, a stair used at night. Each activity becomes a lighting need — ambient, task, or accent — and that list, not a catalog, drives the plan.
2. Measure and draw
Draw each room to scale with ceiling heights, windows, doors, and — critically — furniture: the table, the island, the sofa, the bed. Lights belong over furniture and activities, so the furniture plan must come before the lighting plan. Note joist direction if the ceiling is open; it decides where boxes and recessed lights can go.
3. Draw a layered plan
Mark three layers on the drawing. Ambient: the ceiling light or recessed grid that lights the room evenly. Task: pendants over the island, a chandelier over the table, under-cabinet light, reading lights, step lights. Accent: sconces, picture lights, wall washers. Most rooms need at least two layers; kitchens and living rooms need all three. Room lumen targets are in how much light does my room need.
4. Build a fixture schedule
For every symbol on the plan, list the fixture type, size, weight, light source, lumens, color temperature, dimmer type, and location rating. The schedule is what the electrician quotes from and what you order from; it also catches problems early — a 70-pound chandelier needing blocking, or a dimmer that will not match a fixture's driver.
5. Fix box locations and blocking
Locate every box on the plan relative to furniture, not room centers: chandeliers centered on the dining table and the seating group, pendants over the island at the planned spacing, sconces about 60 to 66 inches above the floor, step lights at every flight. While the ceiling is open, add blocking or a brace bar wherever a fixture over 50 pounds or a ceiling fan will hang — it is trivial now and costly later. On high ceilings, plan a winch or access for future bulb changes and cleaning; see installing chandeliers on high ceilings.
6. Plan switching and dimming
Put switches where people enter and leave: three-way switches at both ends of rooms with two entries, hallways, and stairs. Put dimmers on every main fixture — chandeliers, pendants, recessed groups — and make sure each dimmer matches its fixture's driver (TRIAC, ELV, or 0–10V). Group lights into sensible zones (perimeter recessed separate from the island pendants, for example), and decide now whether you want scenes or smart control, because it can change the wiring.
7. Permit and rough-in inspection
New circuits, new boxes, and recessed lights usually require an electrical permit, and in most jurisdictions the work is inspected at rough-in — boxes, cable, and connections exposed — before drywall goes up. Hire a licensed electrician, who typically pulls the permit, and confirm requirements with your local building department.
8. Drywall, trim, and fixtures
After inspection and drywall, recessed trims, switches, and fixtures go in. Check every fixture against the schedule on arrival, keep packaging until each one works, and hang heavy fixtures with two people. Chandelier installation steps and costs are covered in how much to install a chandelier.
9. Aim and commission
Set every switchable LED to the same color temperature — 2700K or 3000K in living spaces, 3000–3500K in the kitchen — aim adjustable recessed and track heads, set dimmer low-end trims so lights do not flicker, set chandelier and pendant heights (30–36 inches above tables and islands), and program any scenes. This last step is where a remodel starts to look designed.
Recessed Lighting Layout Rules
Recessed lights are the usual ambient layer in a remodel. Space them about half the ceiling height apart — roughly 4 feet on an 8-foot ceiling, 5 feet on 10 feet — and keep the first row 2 to 3 feet from the walls (closer, about 18 to 24 inches, if you want to wash the wall). Run rows parallel to the longest wall, align them with cabinets and furniture rather than the room center, and avoid putting a light directly above where a person stands at a counter, which casts their shadow on the work. Size the trims to the room: 4-inch for most rooms, 6-inch for tall ceilings and large spaces. The full layout tool is in how to use a recessed lighting calculator, and installation in how to install recessed lighting.
Room-by-Room Remodel Plan
| Room | Ambient | Task | Accent | Plan note |
|---|---|---|---|---|
| Kitchen | Recessed grid, ceiling height ÷ 2 | Island pendants or linear; under-cabinet strips | In-cabinet or toe-kick | Pendants 30–36 in above counter; separate switch zones |
| Dining room | Recessed perimeter (optional) | Chandelier centered on the table | Sconces or picture lights | Box on the table center; blocking for heavy fixtures |
| Living room | Chandelier or ring over seating; or recessed | Reading lamps, switched outlets | Wall washers, sconces, art lights | Box on the seating-group center; switched outlets for lamps |
| Bedroom | Flush or semi-flush, or fan with light | Bedside sconces | Closet lighting | Sconces 60–66 in, or at reading height beside the bed |
| Hallway | Flush mounts every 8–10 ft | — | Picture lights | Three-way at both ends |
| Stair | Landing fixture | Step lights every 1–3 steps | Wall lights along the run | Three-way top and bottom |
| Entry / foyer | Chandelier sized to room or height | — | Sconces by mirror or console | Two-story: plan winch or access |
| Exterior entry | Porch ceiling fixture | Door wall lights 66–72 in up | Path and landscape | Wet or damp rated; photocell |
Deeper room guides: kitchen island pendant rules, indoor stair lights, wall sconce height guide, and front porch and front door lighting.
What Drives the Cost of a Lighting Renovation
Lighting renovation cost varies widely by region and house, but the same factors set it everywhere. Knowing them lets you shape the plan to the budget and compare quotes on equal terms.
| Cost factor | Why it matters | How to control it |
|---|---|---|
| New boxes and circuits | Each new location is labor and material | Put lights where they matter; reuse good existing boxes |
| Ceiling access | Open ceilings are far cheaper to wire than finished ones | Do lighting during the remodel, not after |
| Recessed count | Each can is a cut, a fixture, and a connection | Follow spacing rules instead of filling the ceiling |
| Heavy fixtures and fans | Need blocking, rated boxes, two installers | Plan blocking while open |
| High ceilings | Scaffolding or lifts | Plan access and winches up front |
| Switching and smart controls | Three-way runs, scene controllers, hubs | Choose where smart control truly helps |
| Drywall repair and paint | Every cut in a finished ceiling needs patching | Batch work; avoid moving boxes later |
| Permit and inspection | Fees and scheduling | Let the electrician pull the permit |
| Fixtures | Wide range by size, material, and light source | Spend on the fixtures people see most |
To get comparable quotes, give every electrician the same drawing and fixture schedule, ask for an itemized price per box, per recessed light, per switch location, and for permit and patching, and confirm who supplies the fixtures and who hangs the heavy ones.
Common Lighting Remodel Mistakes
Placing boxes on room centers instead of furniture centers, so the chandelier misses the table. Filling the ceiling with recessed lights and forgetting task and accent layers. Forgetting blocking for a heavy chandelier or a future ceiling fan. Putting switches where the electrician finds it convenient rather than where people walk in. Mixing color temperatures across rooms. Skipping dimmers, or buying dimmers that do not match the drivers. And leaving the lighting plan until the drywall is up.
Quick decision: your remodel plan
Walls open: plan a full layered layout now • Kitchen: recessed grid + island pendants + under-cabinet • Dining: box on the table center with blocking • Living: box on the seating center + switched outlets + wall accents • Hall and stair: three-way switching, step lights • Everywhere: dimmers matched to drivers, one color temperature, permit and rough-in inspection before drywall.
Fixtures for a Lighting Remodel, by Room
Seven fixtures that fit common remodel plans — ambient, task, and accent.
Kitchen, dining, and living
Task and ambient fixtures for the rooms people use most.
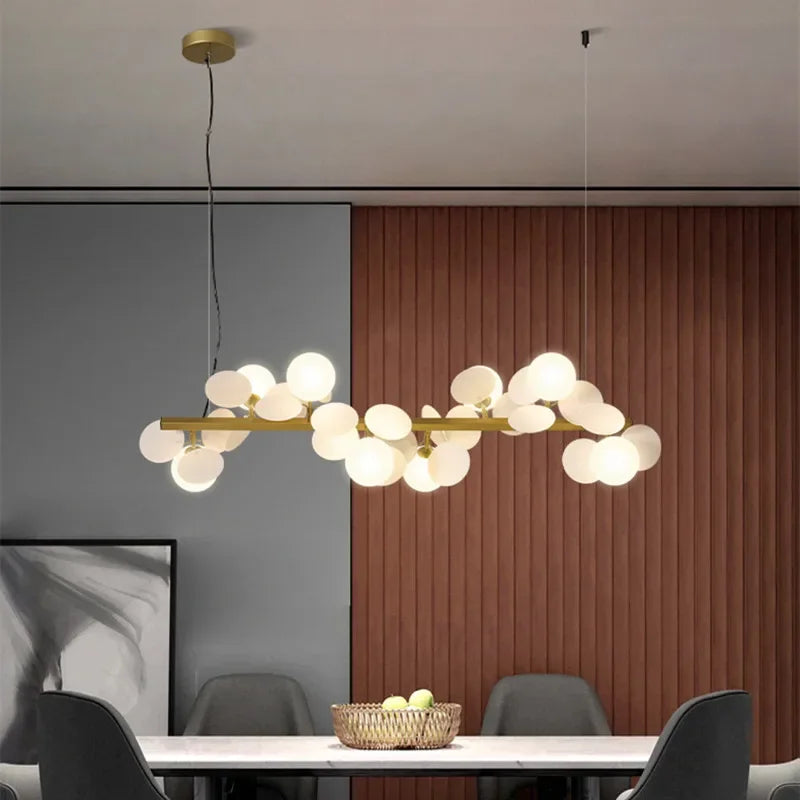
The Eli Glass Globes Linear Chandelier is a linear row of glass globes for a rectangular dining table or kitchen island — plan its box on the table or island center.
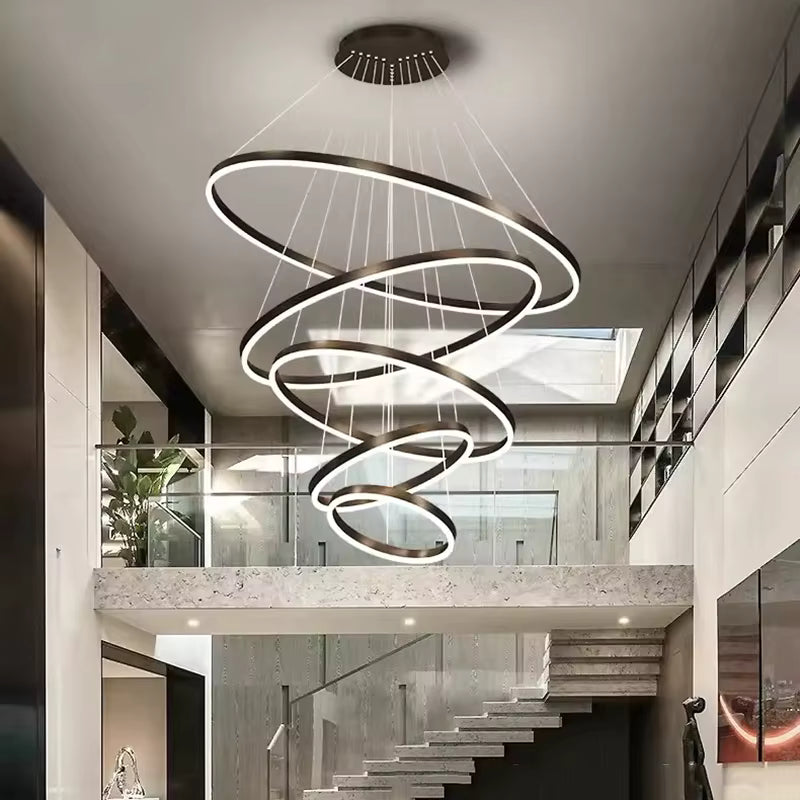
The Aysan Modern Ring Chandeliers are integrated-LED rings with remote dimming for the living room's ambient layer — one box centered on the seating group.
The Flush Mount Linear Chandelier, in black or gold, lights a kitchen or long hallway from one box — a fixed alternative to a long row of recessed lights.
Hallways, stairs, entries, and accents
Ambient and accent fixtures for circulation spaces and walls.

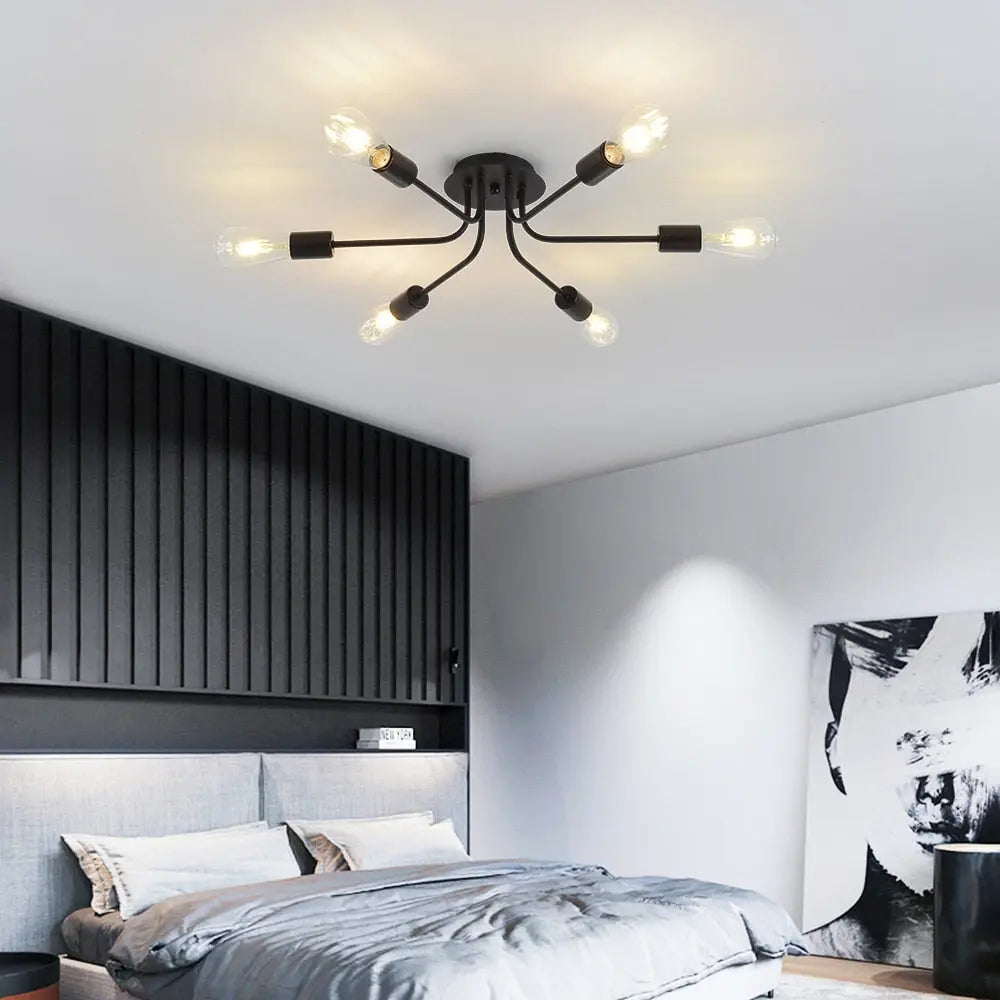
The Nelis Modern Smart LED Flush Mount Ceiling Light is a smart flush mount with app and remote control — ambient light for bedrooms and hallways that can join scenes without extra wiring.
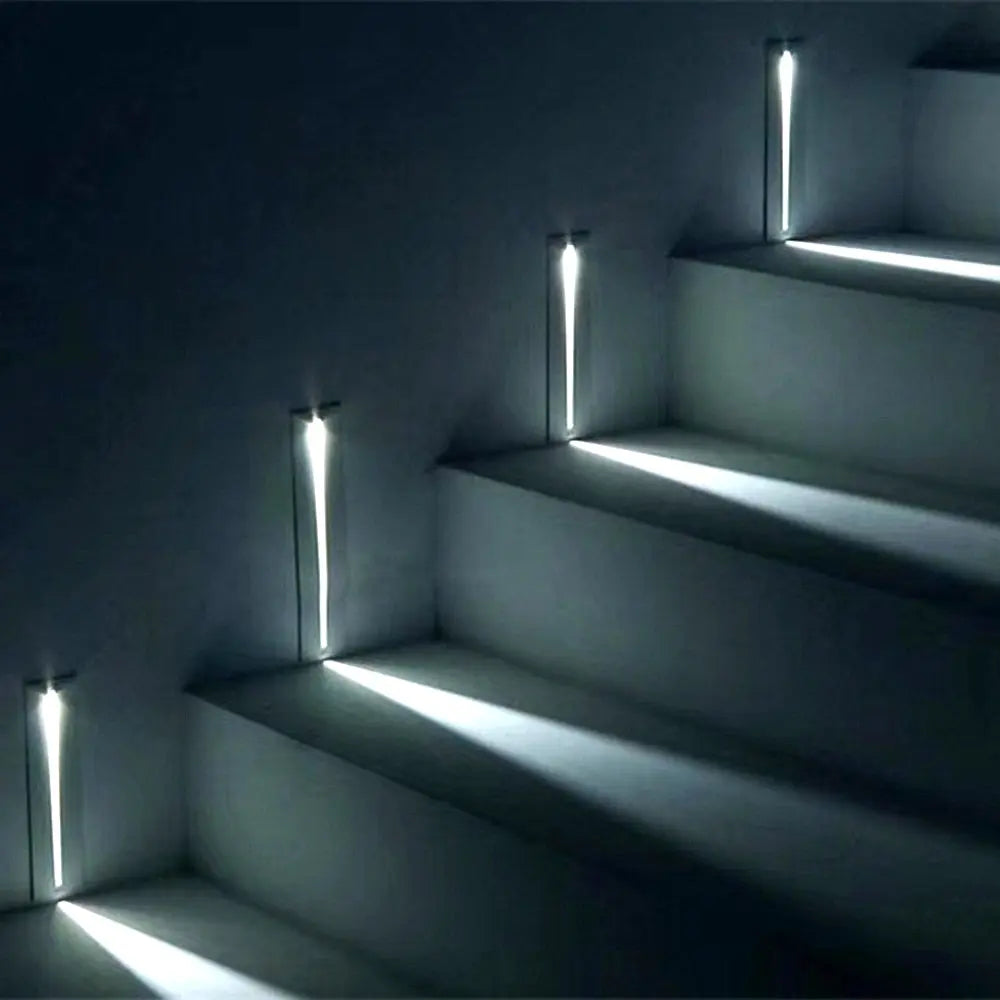
The LED Lights for Staircase Wall are step lights set into the stair wall — plan their boxes every one to three steps while the wall is open.

The Double Head LED Wall Light throws light up and down for the accent layer — sconces in a living room, hallway, or beside a bed, about 60 to 66 inches up.
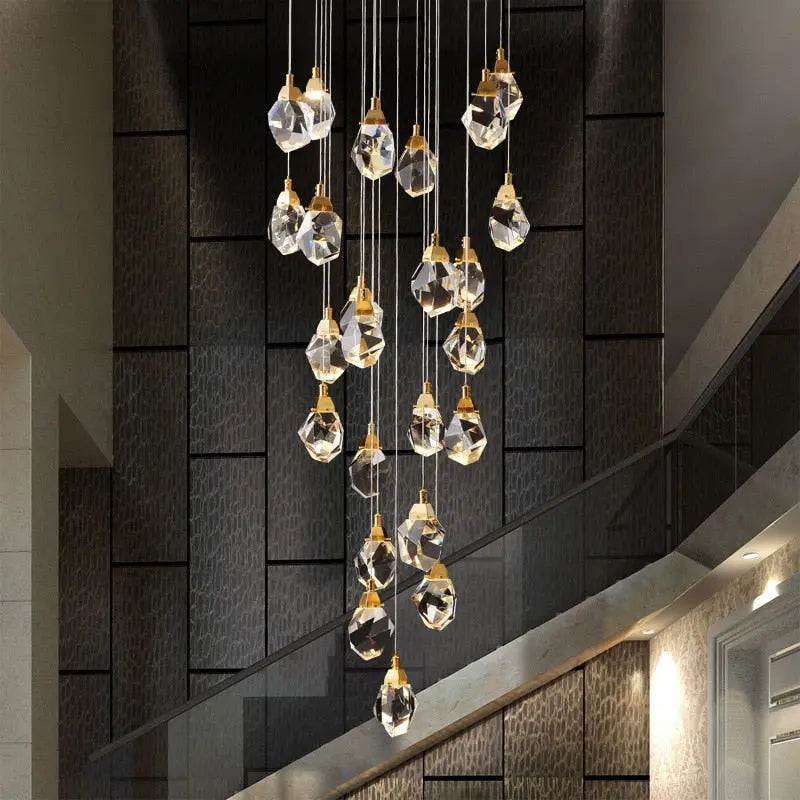
The Modern Crystal Chandelier for High Ceiling Living Room, in gold or black, is a focal fixture for an entry or tall living room — plan blocking and future access while the ceiling is open.
Chandeliers, pendants, flush mounts, wall lights, and stair lights for every room.
Ceiling Lights Chandeliers Pendants Wall Lights
Frequently Asked Questions
How do I plan a lighting remodel?
List how each room is used, draw the rooms and furniture to scale, mark ambient, task, and accent layers, build a fixture schedule, fix box and switch locations, then have a licensed electrician pull the permit, wire it, and pass the rough-in inspection before drywall.
What is the difference between a lighting remodel and a lighting upgrade?
An upgrade swaps fixtures, bulbs, and switches on existing boxes with ceilings closed. A remodel adds or moves boxes, circuits, recessed lights, and switches while walls or ceilings are open, and usually needs a permit.
How far apart should recessed lights be in a remodel?
About half the ceiling height apart — roughly 4 feet on an 8-foot ceiling — with the first row 2 to 3 feet from the walls, or 18 to 24 inches to wash a wall.
Where should the chandelier box go?
Centered on the dining table or the seating group, not the room. While the ceiling is open, add blocking or a brace bar for any fixture over 50 pounds.
Do I need a permit to remodel lighting?
New circuits, new boxes, and recessed lights usually require an electrical permit and a rough-in inspection. Requirements vary, so check with the local building department; licensed electricians typically pull the permit.
How much does a lighting renovation cost?
It depends mainly on the number of new boxes and circuits, how open the ceilings are, how many recessed lights you add, heavy fixtures needing blocking, high-ceiling access, smart controls, drywall repair, permit fees, and the fixtures themselves. Give electricians the same plan and ask for itemized quotes.
How do I lower lighting remodel costs?
Do lighting while ceilings are open, follow spacing rules instead of filling the ceiling, reuse good existing boxes, plan blocking now, and spend most on the fixtures people see.
What color temperature should I choose for a remodel?
One warm white through living spaces — 2700K or 3000K — and 3000–3500K in the kitchen, with CRI 90 or higher. Set all switchable LEDs to match.
Where should light switches go?
Where people enter and leave each room, with three-way switches at both ends of rooms with two entries, hallways, and stairs. Put dimmers on every main fixture.
Should I add smart lighting in a remodel?
It is easiest to add during a remodel. Decide early, because scene controllers and some smart systems change the wiring. Smart flush mounts and fixtures with app control also add scenes without extra wiring.
Starting Your Lighting Remodel
Draw the furniture, then the light, then the boxes — in that order — and settle switching and blocking before the walls close. A remodel planned that way costs less to build, never needs a box moved later, and looks designed from the day the lights come on.
Choose fixtures from ceiling lights, chandeliers, pendants, and wall lights. If the ceilings will stay closed, read home lighting upgrades instead.


