
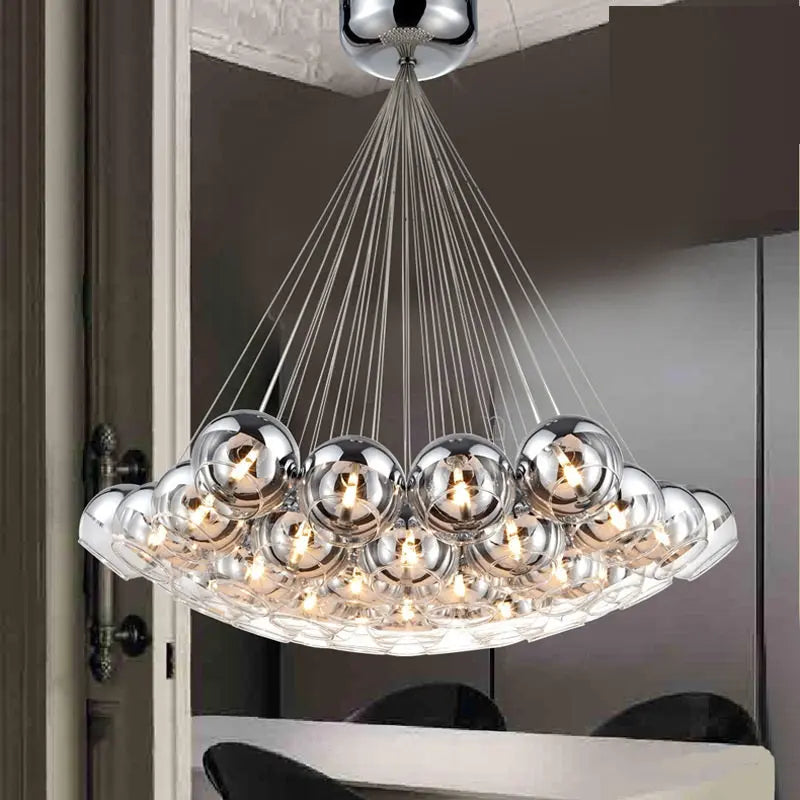
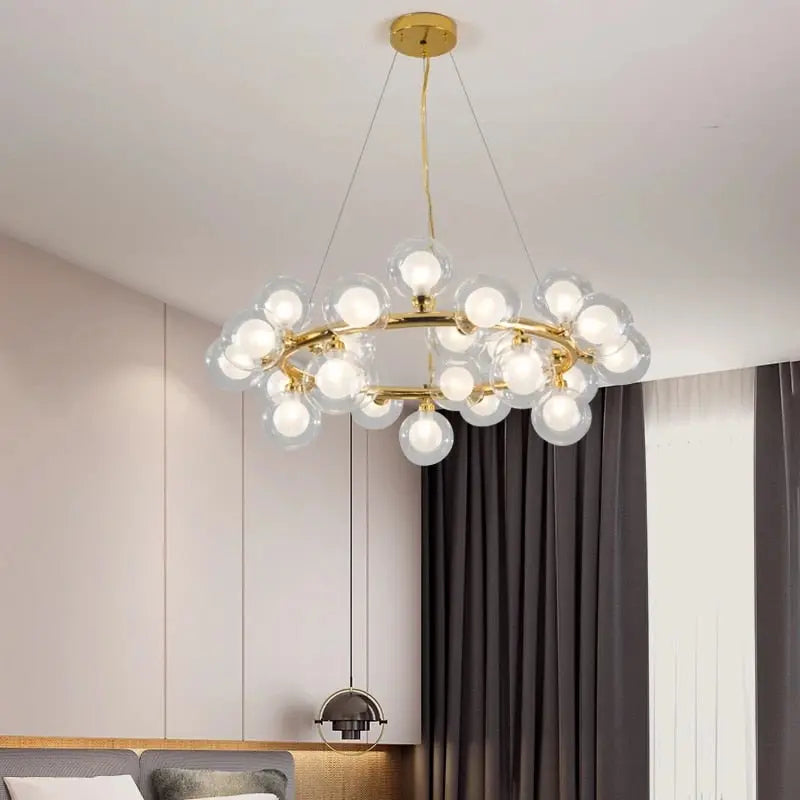
Bubble chandeliers are beautiful lighting fixtures that can add a unique touch to any room. But before you can enjoy their soft glow, you need to wire them properly. This guide will walk you through the process of wiring a bubble chandelier, ensuring safety and success.
Key Steps for Wiring a Bubble Chandelier
- Always turn off power before working
- Use the right wire gauge for your chandelier
- Double-check all connections before turning power back on
- Call a pro if you're unsure about any step
What You'll Need
Before you start, gather these tools and materials:
- Wire strippers
- Screwdriver
- Wire nuts
- Electrical tape
- Voltage tester
- 14 or 16 gauge electrical wire
- Ladder or step stool
- Work gloves
- Safety glasses
Safety First
Electrical Safety Tips
Disconnect Power: Turn off the main breaker before starting.
Wear Protective Gear: Use insulated gloves and safety goggles.
Use Proper Tools: Employ tools designed for electrical work.
Consult a Professional: Seek help when in doubt.
Safety is crucial when working with electricity. Always turn off the power at the circuit breaker before you start. Use a voltage tester to make sure there's no electricity flowing to the wires you'll be working with. It's better to be safe than sorry! Wear safety glasses and work gloves to protect yourself from potential injuries.
Step-by-Step Wiring Guide
1. Prepare the Chandelier
Start by identifying the wires on your bubble chandelier. You'll usually see three wires: black (hot), white (neutral), and green or bare copper (ground). Measure and cut these wires to the right length for your installation. Make sure to leave a little extra length for adjustments.
2. Connect the Wires
Match the wire colors from your chandelier to those in the ceiling junction box. Use wire nuts to connect black to black, white to white, and green/bare to green/bare. Twist the wire nuts clockwise until the connection is tight. Gently tug on each wire to ensure it's securely fastened.
3. Ground the Chandelier
Proper grounding is important for safety. Connect the green or bare copper wire from the chandelier to the grounding wire or screw in the junction box. If your junction box doesn't have a grounding wire, consult an electrician to ensure proper grounding.
4. Secure Connections
After connecting the wires, wrap electrical tape around each wire nut. This adds an extra layer of safety and keeps the connections secure. Make sure no bare wire is exposed outside the wire nuts.
Learn more about installing and maintaining your bubble chandelier5. Troubleshooting Common Issues
Even with careful wiring, you might run into some problems. Here are a few common issues and how to fix them:
- Flickering lights: Check all connections and make sure they're tight. Also, ensure the bulbs are properly seated in their sockets.
- Uneven brightness: This could be due to loose connections or faulty bulbs. Check each bulb individually and replace any that are dimmer than the others.
- Short circuits: If your chandelier isn't working at all, double-check all connections and make sure no bare wires are touching. Use a multimeter to test for continuity if necessary.
- Dimmer switch issues: If your chandelier doesn't dim properly, ensure you're using a compatible dimmer switch. LED chandeliers often require specific types of dimmers.
6. Wiring Different Types of Bubble Chandeliers
Some bubble chandeliers might need special wiring considerations:
Multi-Tiered Chandeliers
These chandeliers often have more wires to connect. Make sure to group similar wires together before connecting them to the main power source. Use wire labels to keep track of which wires go where.
LED Bubble Chandeliers
LED chandeliers might need a special dimmer switch. Check the manufacturer's instructions to make sure you're using the right type. Some LED chandeliers also require a driver or transformer, which should be installed according to the manufacturer's guidelines.
7. When to Call a Pro
While many people can wire a bubble chandelier themselves, sometimes it's best to call an electrician. Consider professional help if:
- You're not comfortable working with electricity
- Your chandelier is very large or complex
- You need to install a new junction box
- Your home's wiring is old or outdated
- You need to run new wiring through walls or ceilings
- Local building codes require a licensed electrician for chandelier installations
Caring for Your Wired Bubble Chandelier
Once your bubble chandelier is wired and hanging, it's important to take care of it:
- Clean the glass bubbles gently with a soft, dry cloth
- Check the wiring connections once a year
- Replace any burnt-out bulbs promptly
- Dust the fixture regularly to maintain its sparkle
- Avoid using harsh chemicals that might damage the finish
- Consider using a chandelier lift for easier cleaning and maintenance of high-hanging fixtures

Enhancing Your Chandelier's Performance
To get the most out of your bubble chandelier, consider these tips:
- Use LED bulbs for energy efficiency and longer lifespan
- Install a dimmer switch for versatile lighting options
- Position the chandelier at the right height for optimal light distribution
- Consider adding a ceiling medallion for a decorative touch
Wrapping Up
Wiring a bubble chandelier might seem tricky, but with the right tools and steps, you can do it safely. Remember to always prioritize safety, take your time, and don't hesitate to ask for help if you need it. Once you're done, you'll have a beautiful bubble chandelier lighting up your space, creating a stunning focal point in your room. Regular maintenance and care will ensure your chandelier continues to shine brightly for years to come.
Check out more stunning bubble chandelier options


