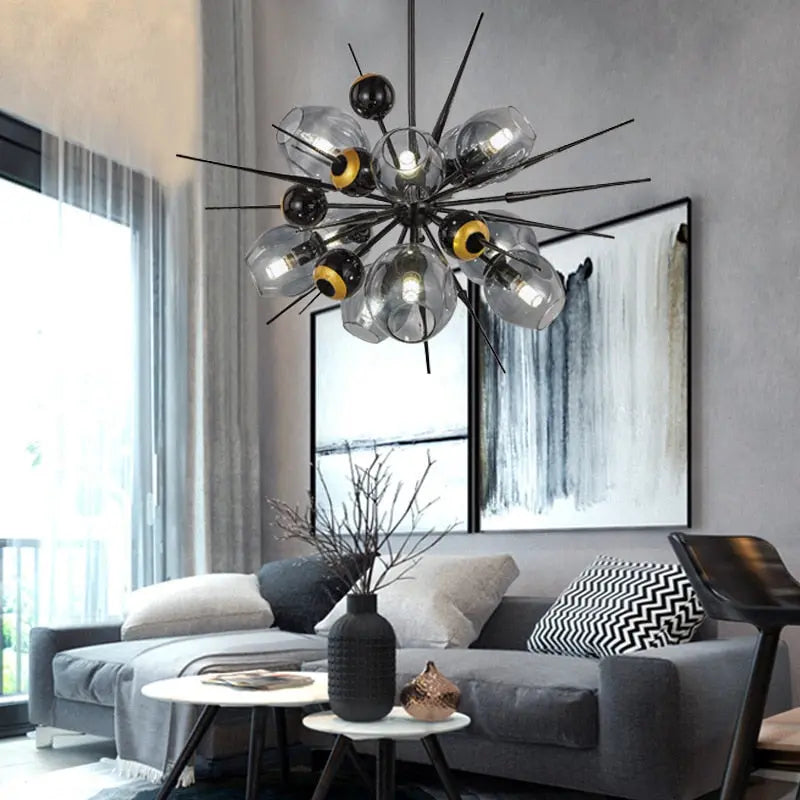
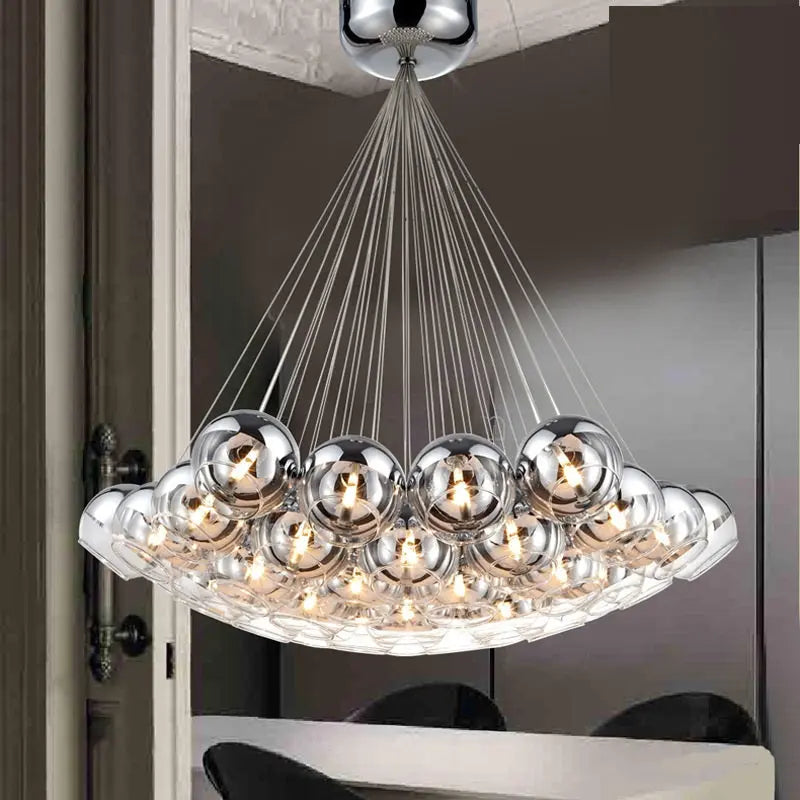
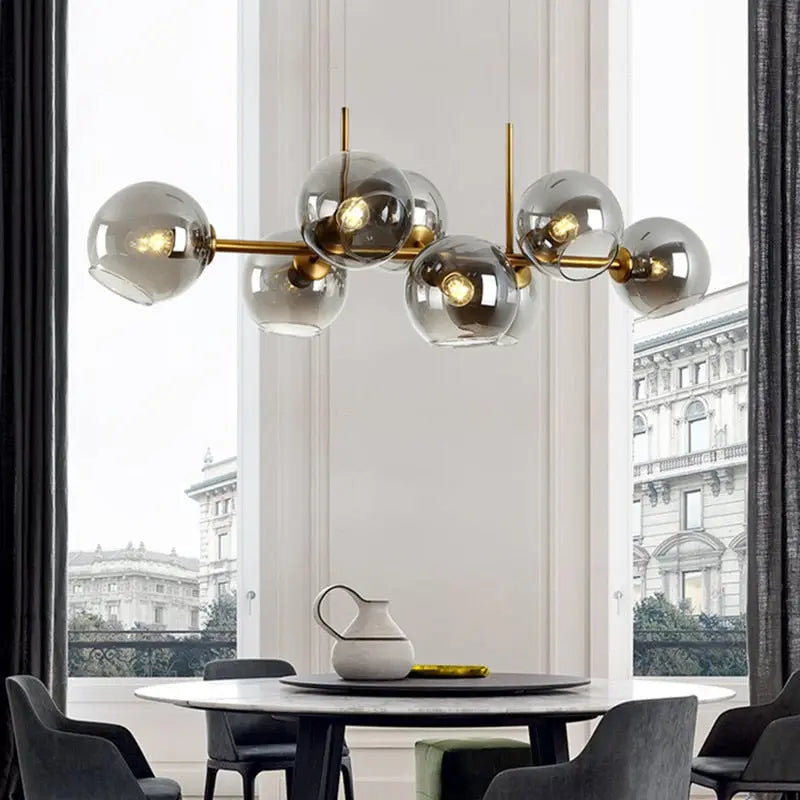
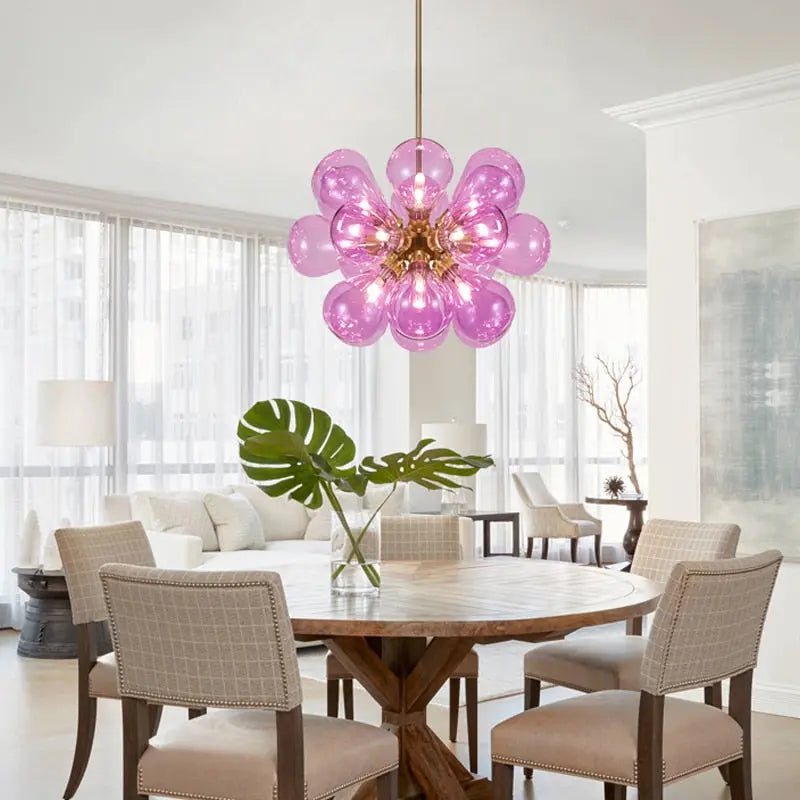
Bubble chandeliers are eye-catching light fixtures that can add a playful touch to any room. Making your own is a budget-friendly option that lets you customize the look. This guide will walk you through creating a DIY bubble chandelier, typically costing $200-300 and taking 4-6 hours for beginners.
Key Steps for DIY Bubble Chandelier
- Gather materials: globes, light fixtures, wiring
- Plan your design and size
- Create the frame structure
- Attach globes with fishing line
- Add lighting components
- Install securely and adjust as needed
- Customize with colors and decorative elements
What You'll Need
Before starting bubble chandeliers project, gather these essential supplies:
- Glass or plastic globes in various sizes (10-30 depending on chandelier size)
- Light fixtures (sockets, cords, and bulbs)
- Wiring supplies (wire nuts, electrical tape)
- Wire cutters and pliers
- Fishing line or thin wire (at least 20-30 feet)
- Frame material (wire grid or metal hoop)
- Ceiling mounting hardware
- Safety glasses and work gloves
Planning Your Chandelier
Before assembly, plan out your design:
- Choose a shape for your chandelier (round, oval, or branching)
- Decide on the size based on your room dimensions
- Pick a color scheme for the globes and frame
- Determine the number of light bulbs needed for adequate illumination
- Sketch out your design on paper, including globe placement and wiring routes
Consider the room's existing decor and the chandelier's purpose. Will it be a statement piece or blend with the surroundings? This planning stage is crucial for a successful project outcome.
For help with sizing, read our guide on how to choose the perfect bubble chandelier size.
Step-by-Step Assembly
1. Create the Frame
Start by making the base structure:
- For a round chandelier, use a metal hoop or bend wire into a circle
- For a branching design, create a central hub with extending arms
- Secure all connections tightly
- If using a wire grid, shape it into your desired form and reinforce joints
- Consider adding a second tier for more complex designs
2. Attach the Globes
Next, add your glass or plastic bubbles:
- Cut pieces of fishing line or thin wire for each globe
- Tie one end to the frame and the other around the globe's opening
- Vary the lengths for a more natural, clustered look
- Start with larger globes and fill in with smaller ones
- Ensure knots are secure and trim excess line
3. Add Lighting Components
Now it's time to light up your creation:
- Attach light sockets to the frame, spacing them evenly
- Run wiring from each socket to a central point
- Connect the wires to your main power cord
- Use wire nuts and electrical tape to secure connections
- Add bulbs to the sockets
- Consider using LED bulbs for energy efficiency and longevity
Safety note: If you're not comfortable with electrical work, please consult a professional electrician for this step. Proper wiring is crucial for safety and functionality.
Installation and Care
Once your chandelier is complete, it's time to hang it:
- Choose a sturdy mounting point on your ceiling
- Use appropriate hardware to securely attach the chandelier
- Adjust the height as needed
- Balance the chandelier to ensure it hangs straight
- Consider using a dimmer switch for adjustable lighting
- Test the chandelier before finalizing the installation
Regular maintenance will keep your chandelier looking its best:
- Dust globes gently with a soft, dry cloth
- For deeper cleaning, remove globes and wash with mild soap and water
- Check and tighten connections periodically
- Replace bulbs as needed
For maintenance tips, see our guide on how to clean, install, and maintain your bubble chandelier.
Customization Ideas
Make your bubble chandelier unique with these creative touches:
- Mix globe sizes for visual interest
- Use colored globes or tinted bulbs
- Add decorative elements like crystals or beads
- Incorporate natural elements such as driftwood or dried flowers
- Create a gradient effect with different shades of the same color
- Use textured or frosted globes for a softer light diffusion
For more inspiration, check out our 10 best bubble chandelier ideas for modern homes.
Troubleshooting Tips
If you run into issues, try these solutions:
- Uneven lighting: Check bulb wattages and adjust globe placement
- Loose globes: Reinforce attachments with clear glue
- Electrical problems: Double-check all connections and consult a professional if needed
- Chandelier imbalance: Adjust globe positions or add small weights to balance
- Insufficient light output: Consider upgrading bulb wattage or adding more sockets
- Tangled wires: Use cable ties or twist ties to organize wiring neatly
For more unique lighting ideas, take a look at our unique bubble chandeliers for 2024.
Wrapping Up
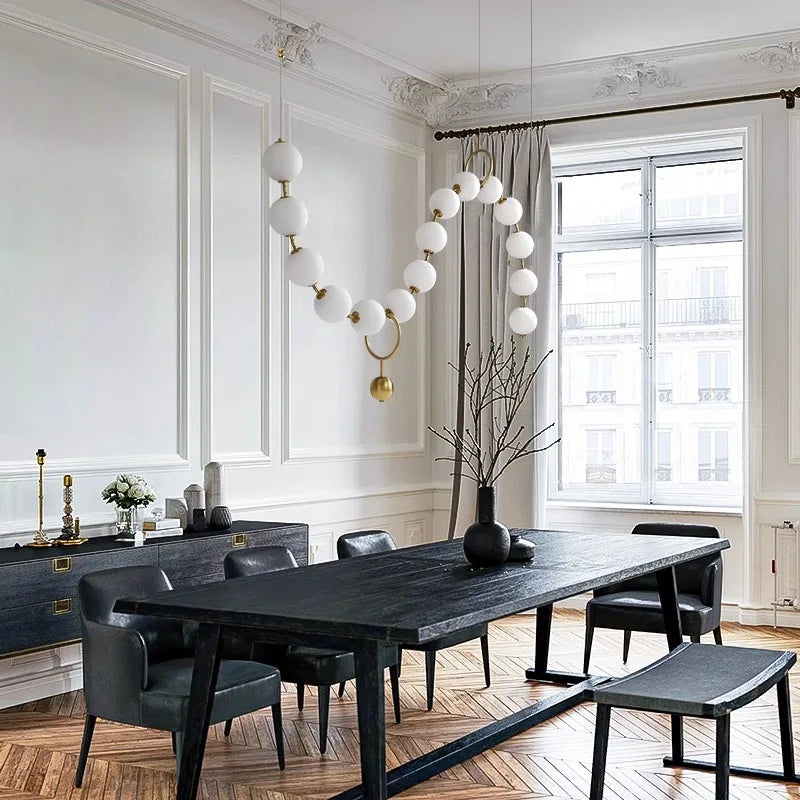
Creating a DIY bubble chandelier is a fun project that results in a one-of-a-kind light fixture for your home. By following these steps and adding your personal touch, you'll have a beautiful, custom chandelier that didn't break the bank. Remember to prioritize safety, especially when working with electrical components, and don't be afraid to get creative with your design.
This project not only saves money but also allows you to express your creativity and craft a lighting solution tailored to your space. Whether you're aiming for a modern, minimalist look or a more eclectic style, a DIY bubble chandelier can be adapted to suit your taste.
If you'd prefer a ready-made option, explore Seus Lighting's collection of bubble chandeliers for professionally crafted pieces that bring the same whimsical charm to your space.


