
Adding a chandelier to your home can really change how a room looks and feels. But putting one up might seem tricky if you've never done it before. Don't worry! We'll walk you through the steps to install a chandelier safely and correctly. Remember, if you're not sure about working with electricity, it's always best to call a professional.
Key Takeaways
- Turn off power before installation
- Ensure your ceiling can support the chandelier's weight
- Match wire colors correctly when connecting
- Adjust the height for optimal positioning
- Consider professional help for complex installations
What You'll Need
Before you start, gather these tools and materials:
Tools and Materials for Chandelier Installation
- Ladder or step stool
- Screwdriver
- Wire stripper
- Pliers
- Voltage tester
- Wire nuts
- Mounting bracket (if not included with chandelier)
- Your new chandelier
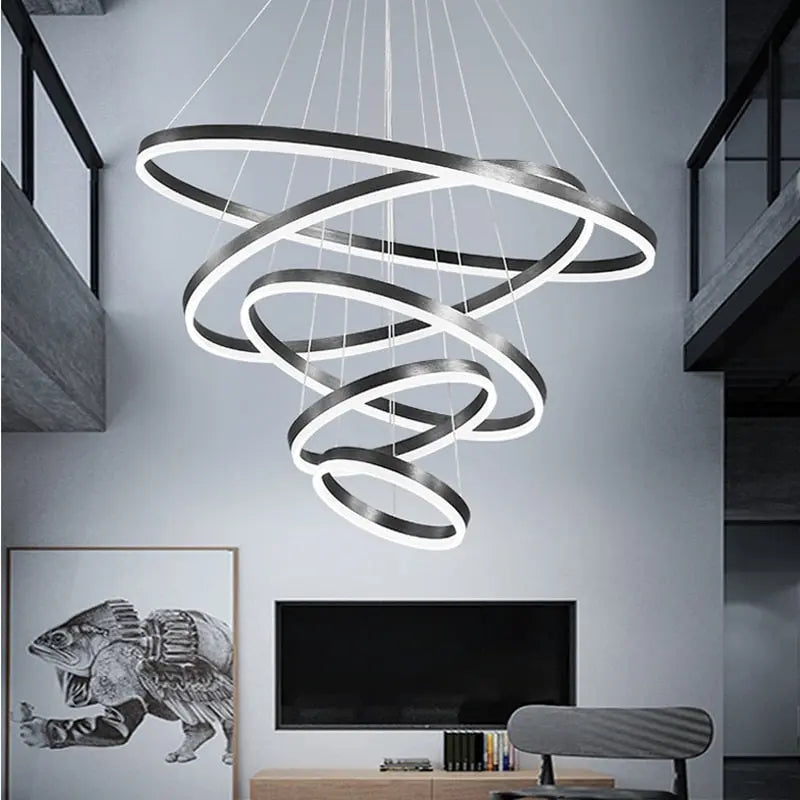
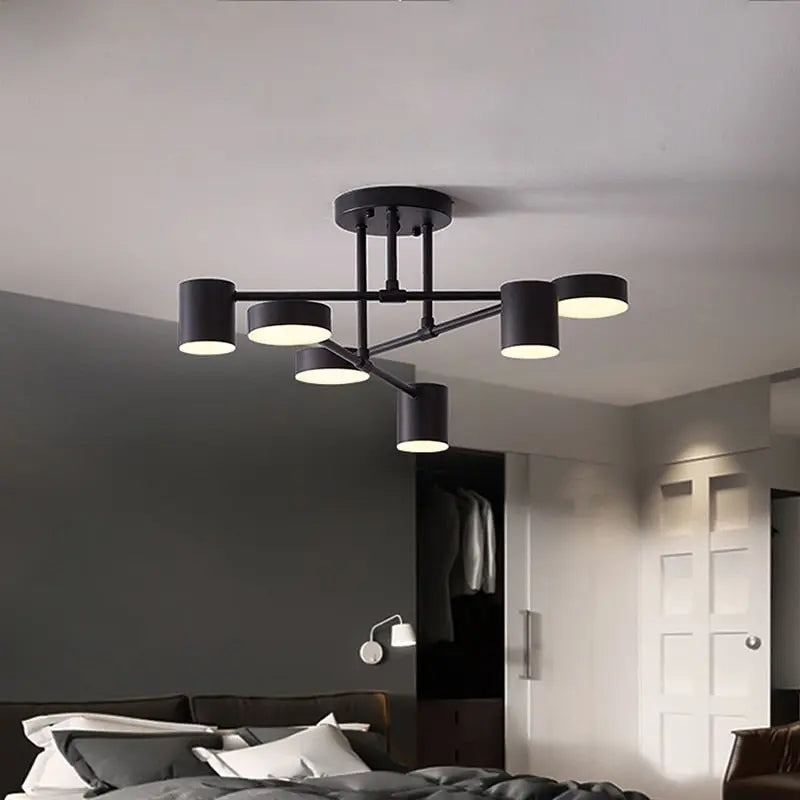
Picking the Right Chandelier
Choosing the right chandelier is important. Think about the size of your room and the style you want. For dining rooms, a good rule is to pick a chandelier that's about 12 inches smaller than the width of your table. If you want something sparkly, crystal chandeliers can add a nice touch to any room.

For a more modern look, bubble chandeliers are a fun choice. These lights can make your room look playful while still giving plenty of light. Think about how high your ceiling is and how big your room is when picking your chandelier. A good trick is to add the room's length and width in feet, then change that to inches for the best chandelier size.

Safety First!
Before you start, turn off the power to the circuit you'll be working on at the main electrical panel. Use a voltage tester to make sure the wires are not live. Safety is super important when working with electricity. Always wear insulated gloves and use tools with insulated handles when working with electrical parts. If you're not sure about any step, ask a licensed electrician for help.
Step-by-Step Installation
1. Remove the Old Light
If you're replacing an old light, carefully take it down. Unscrew the fixture and disconnect the wires. You might need someone to help you hold the light while you do this. Look at how the old fixture was wired, as this can help you when installing the new chandelier.
2. Check the Electrical Box
Make sure your ceiling box can hold the weight of your new chandelier. Most boxes can support between 50 and 70 pounds. If your chandelier is heavier, you might need to install a new box or add extra support. Check how much your chandelier weighs and compare it to what your ceiling box can hold.
3. Install the Mounting Bracket
Attach the mounting bracket to the electrical box. This will hold your chandelier in place. Make sure it's secure and level. Use a level tool to make sure the bracket is straight, as this will affect how your chandelier hangs.

4. Connect the Wires
Now it's time to connect the wires. Match the colors: black to black (hot), white to white (neutral), and green or bare copper to green or bare copper (ground). Use wire nuts to secure the connections and wrap them with electrical tape for extra safety. If your chandelier has a dimmer switch, follow the instructions that came with it for the right wiring.
5. Hang the Chandelier
Carefully lift the chandelier and attach it to the mounting bracket. This might need two people, especially for bigger chandeliers. Make sure it's secure and level. Use a sturdy ladder and have someone help you for safety. If the chandelier is very heavy, you might want to use a pulley system to lift it safely.

6. Adjust the Height
If your chandelier has a chain or cable, adjust it to the right length. For dining rooms, the bottom of the chandelier should be about 30-36 inches above the table. Learn more about hanging a chandelier above a dining table. In living rooms or entryways, try to have at least 7 feet of space from the floor to the bottom of the chandelier.
7. Install the Bulbs and Shades
Put in the light bulbs and attach any shades or crystals that came with your chandelier. Be gentle and follow the instructions that came with it. Think about using LED bulbs to save energy and because they last longer. Make sure the wattage of the bulbs matches what the chandelier can handle.
8. Turn the Power Back On
Go back to your electrical panel and turn the power back on. Test your new chandelier to make sure everything's working right. Check for any flickering or weird noises, which could mean there's a problem with the wiring.
Caring for Your New Chandelier
To keep your chandelier looking great, dust it often with a soft cloth or duster. For deeper cleaning, turn off the power and use a mild cleaner. Be careful with crystal chandeliers - they need special care. Check out our guide on how to clean and maintain your chandelier for more tips. Taking good care of your chandelier will help it last longer and keep shining bright for years.
When to Call a Pro
If you're not comfortable working with electricity or if your installation seems complicated, it's best to call a professional electrician. They have the tools and know-how to install your chandelier safely and correctly. The cost for professional installation usually ranges from $100 to $350 for replacing an existing fixture, or $200 to $2,000 for a new installation, depending on how complex the job is. It's especially good to get professional help if you have high ceilings, a heavy chandelier, or if you need to upgrade your electrical box.
Wrapping Up
Installing a chandelier can be a fun project that really changes the look of your room. Just remember to put safety first, take your time, and don't be afraid to ask for help if you need it. With your new chandelier in place, you'll have a beautiful new centerpiece that lights up your space in style. Taking good care of it will make sure your chandelier stays a stunning part of your home for a long time.


