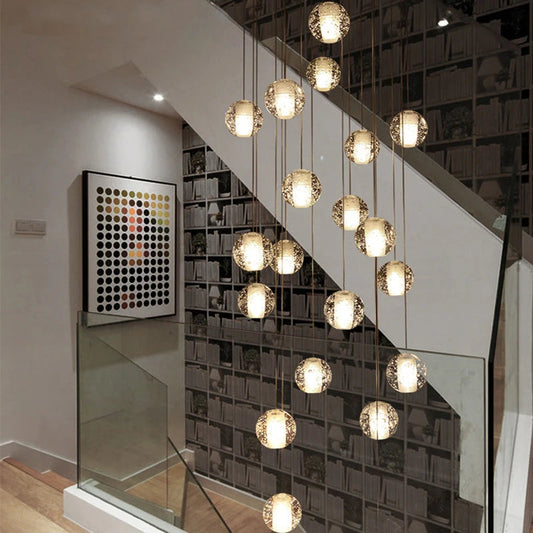
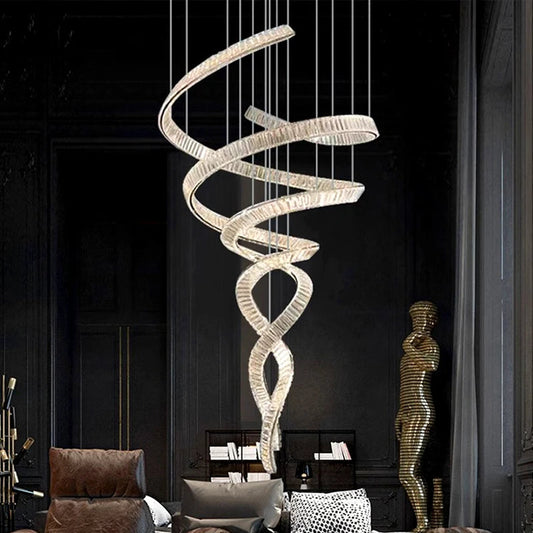
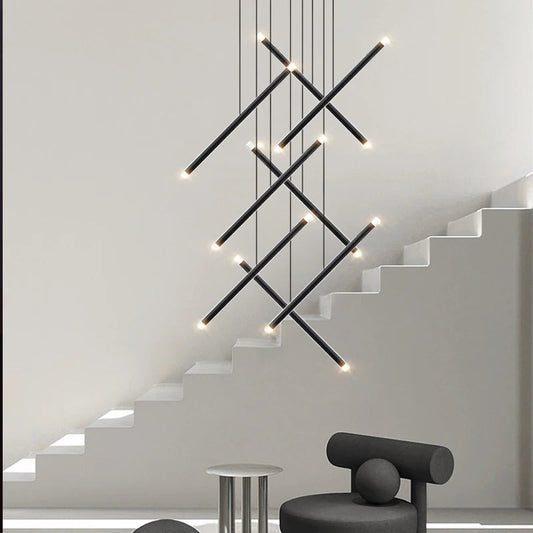
Transforming your space with a stunning chandelier can be a rewarding DIY project. This guide will walk you through the process of wiring a chandelier with multiple lights, ensuring your new fixture shines bright and safe.
I. Introduction - The Basics of Chandelier Wiring
Before diving into the wiring process, it's crucial to prioritize safety and gather all necessary tools. Understanding the components of a multi-light chandelier is also essential for a successful installation.
Safety First

- Turn off power at the circuit breaker
- Use insulated tools
- Wear safety glasses and gloves
Tools and Materials

- Wire strippers
- Screwdrivers
- Wire nuts
- Electrical tape
- Voltage tester
For a wide selection of chandeliers to choose from, visit our All Chandeliers collection.
II. Preparing Your Workspace

A clean and organized workspace is key to a smooth installation process. Follow these steps to prepare:
- Turn off power at the circuit breaker
- Remove the existing fixture (if applicable)
- Inspect the electrical box and wires for any damage
III. Assembling the Chandelier

Most chandeliers require some assembly before installation. Here's how to proceed:
- Unpack and organize all chandelier parts
- Follow the manufacturer's instructions for assembly
- Attach light sockets to the chandelier frame
For high-quality light sockets, check out our Light Sockets collection.
IV. Wiring the Individual Lights
This is where the real work begins. Follow these steps carefully:
- Strip the ends of each wire (about 1/2 inch)
- Connect wires to each socket (black to brass screw, white to silver screw)
- Secure connections with wire nuts and electrical tape
For more modern chandelier options, explore our Modern Chandeliers collection.
Steps for Wiring Individual Lights
- Strip wire ends: Remove about 1/2 inch of insulation from each wire end.
- Connect to sockets: Connect black wires to brass screws and white wires to silver screws.
- Secure with wire nuts: Use wire nuts or connectors to secure the connections.
- Test connections: Ensure all connections are secure and test the lights before final installation.
V. Connecting the Chandelier to the Ceiling
Now it's time to connect your chandelier to the power source:
- Install the mounting bracket to the electrical box
- Connect main wires (match black to black, white to white, and ground to ground)
- Secure the chandelier to the mounting bracket
For chandeliers perfect for entryways, check our Foyer Lighting collection.
VI. Final Steps and Testing
You're almost done! Follow these final steps:
- Install light bulbs in each socket
- Restore power at the circuit breaker
- Test the chandelier by turning on the light switch
For a variety of light bulb options, visit our Light Bulbs collection.
Troubleshooting Common Issues
- If the chandelier doesn't light up, double-check all connections
- Ensure all bulbs are properly screwed in
- Verify that the circuit breaker is on
For more detailed guidance on chandelier installation and maintenance, check out our blog post on Step-by-Step Guide to Cleaning a Chandelier.
Common Chandelier Wiring Issues
Final Steps for Safely Wiring Your Chandelier
Wiring a chandelier with multiple lights may seem daunting, but with the right tools and careful attention to detail, it's a manageable DIY project. Remember to prioritize safety throughout the process and consult a professional if you're unsure about any step. With your newly installed chandelier, you'll enjoy a beautifully lit space for years to come.
For more lighting inspiration and options, browse our Living Room Lighting and Dining Room Lighting collections.


